
 EN



Flat Roof Solar Mounting: Key Checks Before You Plan an Installation
For an installer, EPC team, or distributor, a flat roof solar installation should begin with site inputs—rather than with a generic racking quote. A roof that appears wide and unobstructed can still have constraints around load capacity, drainage, membrane condition, wind exposure, access routes, and rooftop equipment. Gathering those inputs early makes the technical conversation clearer and helps a project team avoid redesigns after layout work has begun.
This is not an engineering design or a substitute for local code review. It is a feasibility checklist for organizing the questions that need answers before mounting solar panels on a flat roof.
Start With the Roof’s Current Condition
First, identify what the roof is made of and how it is performing today. Record the roof assembly, deck type where known, membrane material, approximate age, visible repairs, leak history, insulation changes, and existing warranty status. “Flat” often means low-slope rather than level, so photographs and a roof plan should also identify drains, scuppers, gutters, overflow routes, ponding areas, expansion joints, parapets, hatches, vents, and HVAC equipment.
This matters because a flat roof solar installation must work with the roof’s water-management path rather than interrupt it. Racking feet, ballast, cable routes, walk pads, and stored materials can all change how debris and water move across the roof. If drainage is already poor, solar layout should not be used to mask the issue; the roofing condition and drainage strategy need resolution before the array is finalized.
Confirm Structural Information Before Choosing a Mounting Method
The mounting choice is a project-specific question. Ballasted, mechanically attached, and hybrid approaches distribute forces differently and can create different load paths through the roof assembly. Before comparing configurations, collect available structural drawings and information about the deck, joists or beams, columns, connections, previous alterations, rooftop equipment, and areas where water may accumulate.
A structural review typically needs the proposed module and racking arrangement together with applicable dead, live, snow, wind, and seismic loading criteria. For ballasted layouts, average loading alone is not enough: roof zones, edges, corners, and support locations can have different demands. Where information is incomplete, treat it as a verification item rather than an assumption. That is especially important when mounting solar panels on a flat roof on an older building or a roof with numerous existing services.
Map Wind Exposure, Roof Zones, and Array Geometry
Low-profile PV can reduce some exposure, but a flat roof solar installation still needs a site-specific wind review. Document building height, roof dimensions, parapet height, surrounding terrain, nearby taller structures, coastal or open exposure, and local design requirements. Roof edges and corners can behave differently from the interior, so the layout should not assume a uniform fastening or ballast pattern across the roof.
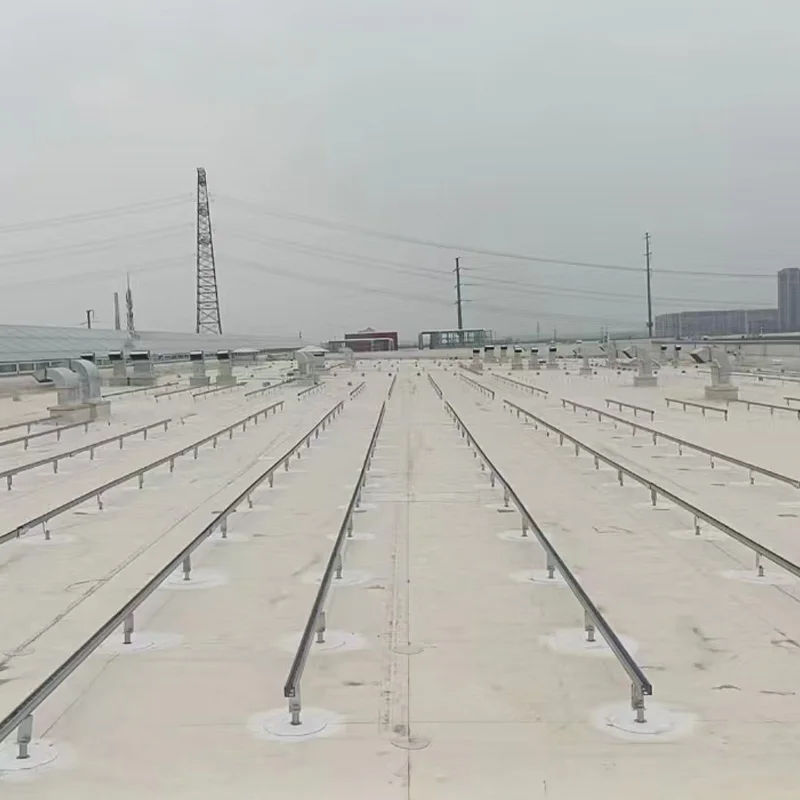
Array geometry belongs in the same conversation. Module orientation, tilt, row spacing, and clearance from obstacles influence shading, wind response, usable roof area, drainage access, and maintenance. Some commercial flat-roof layouts use modest tilt ranges, but no universal angle applies across projects. The practical question is whether the selected arrangement fits the actual roof, local load criteria, production goals, and service routes.
Protect Drainage and the Roof Membrane
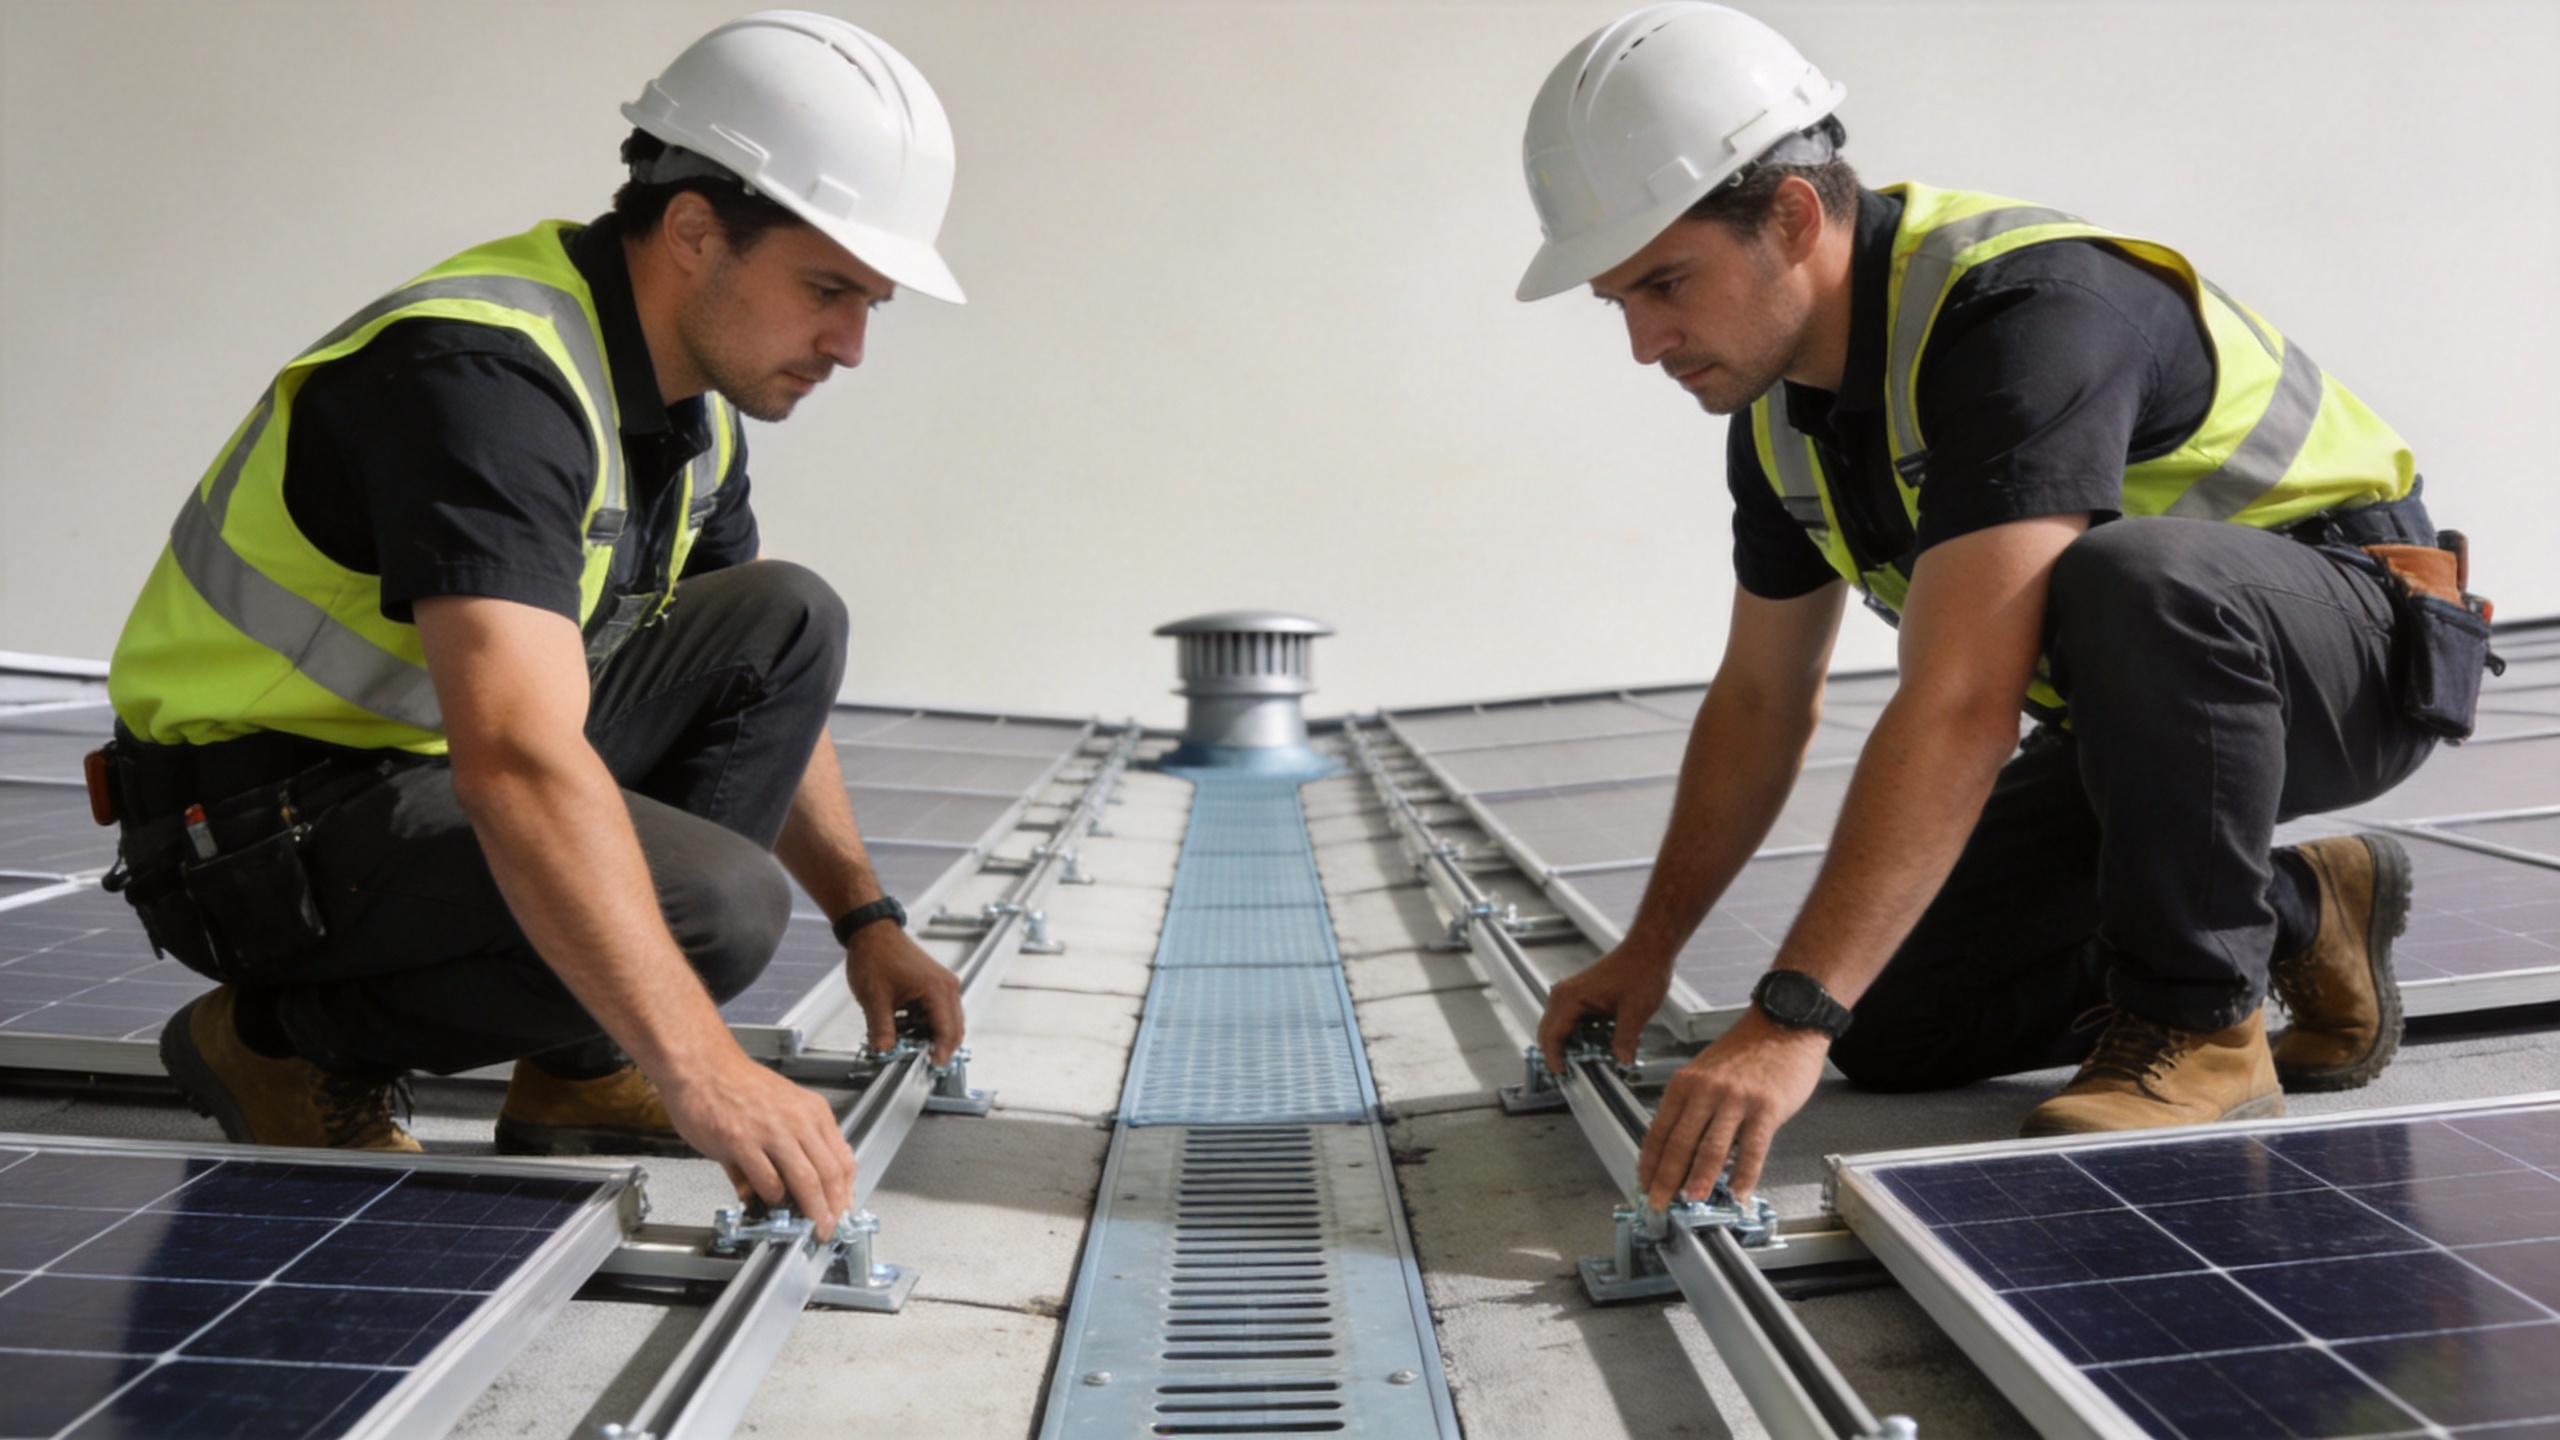
Drainage is one of the most important pre-installation checks because it affects both daily roof performance and long-term serviceability. Mark every drain, scupper, overflow path, and known low point on the layout. Then ask whether panels, cable trays, ballast blocks, conduits, or walk pads could trap debris or limit cleaning access.
Roofing coordination should be documented as well. Confirm the membrane manufacturer’s requirements, approved protection layers, acceptable attachment or flashing details, inspection needs, and responsibility for waterproofing. A non-penetrating concept does not remove the need to review membrane compatibility, point loading, movement, and future roof work. Good feasibility planning clarifies these interfaces before procurement—not after materials are on the roof.
Reserve Space for Access, Fire Response, and Roof Operations
A dense layout may look productive on a drawing while making the roof difficult to operate. Keep service access in view for drains, HVAC units, electrical equipment, vents, hatches, seams, and future component replacement. Rooftop PV access pathways are also a fire-response consideration; the applicable clearances and layout rules depend on the local authority having jurisdiction and building type.
For a flat roof solar installation, it helps to walk the planned routes with the people who will actually use them. Ask where materials arrive, how technicians reach equipment, where a replacement unit might be moved, and which areas must remain visible for inspections. A serviceable design is usually easier to review than one that maximizes panel count without making these operational choices explicit.
Build a Practical Pre-Design Information Pack
Before requesting a final layout or quotation, assemble a concise information pack. It should include:
- roof plans, recent photographs, dimensions, slopes, drains, parapets, obstructions, and access points;
- roof assembly and warranty information, plus known repairs, leaks, or ponding concerns;
- available structural drawings and details of existing rooftop equipment;
- site location, building height, local wind, snow, seismic, and permitting inputs;
- module dimensions, intended capacity, preferred orientation, and production objectives;
- required maintenance routes, HVAC clearances, fire-access questions, and future roof-work constraints; and
- the contact points for the owner, roofer, structural engineer, electrical designer, and installation team.
With those inputs, project teams can discuss a mounting solution in a more disciplined way. The goal is not to force a preferred system onto every roof; it is to make the constraints visible early enough for the layout, roof protection, and installation workflow to be coordinated.
Use a Flat-Roof Mounting Discussion as a Starting Point
Once the site information is organized, a product discussion becomes more useful. For teams evaluating a related solution, review the available Flat Roof Solar Mounting System Installation information alongside the project’s verified roof, structural, drainage, and access conditions. Product information can frame the conversation, but final suitability should be confirmed through the project-specific engineering, roof, and local-code review.
Final Checklist Before You Move to Detailed Design
Before a flat roof solar installation moves from concept to detailed design, confirm that the team has a current roof assessment, a drainage map, structural inputs, a wind-and-layout basis, membrane coordination, access requirements, and a clear list of open questions. At first glance, this can seem like extra paperwork. In practice, it is the information that allows installers, EPC teams, and suppliers to compare options on the same basis and reduce avoidable changes later in the project.


 Hot News
