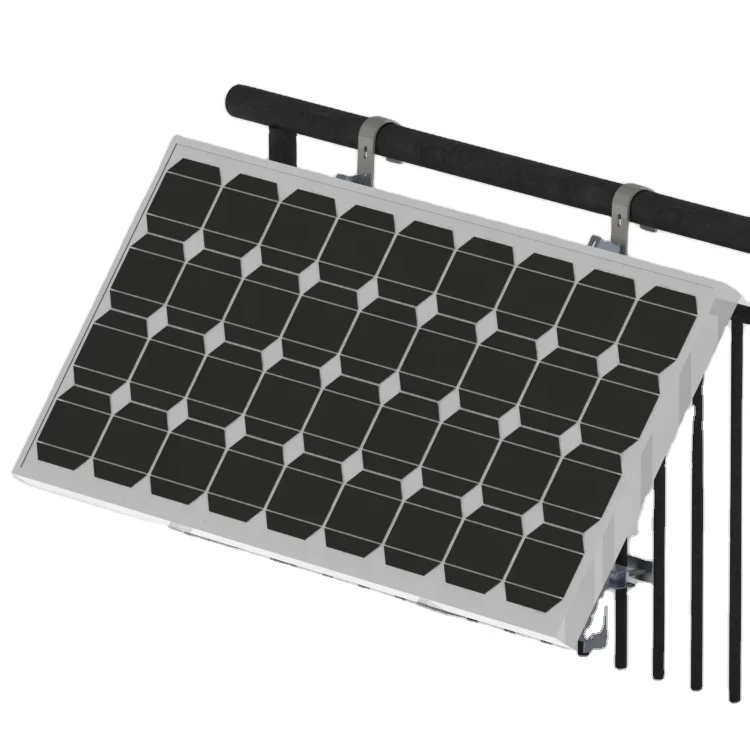
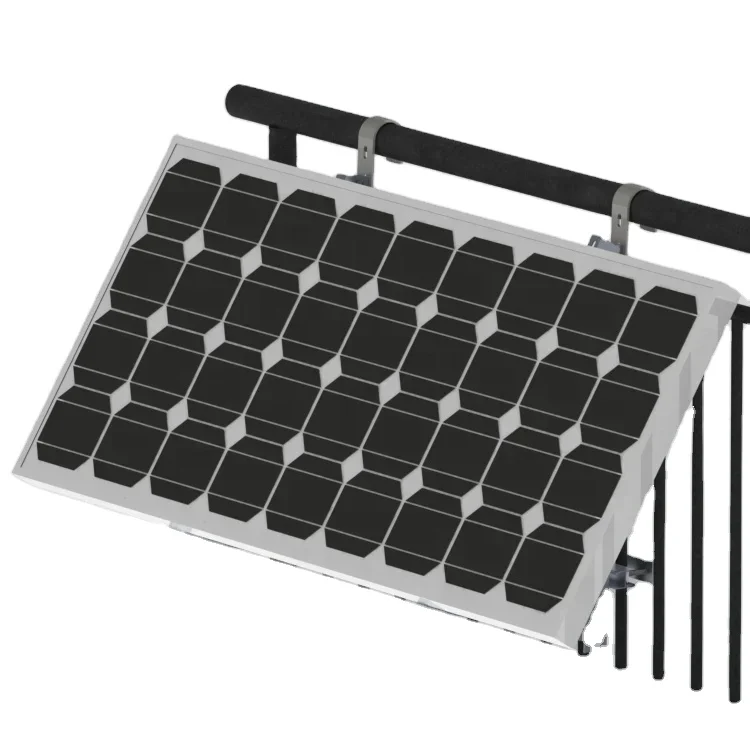

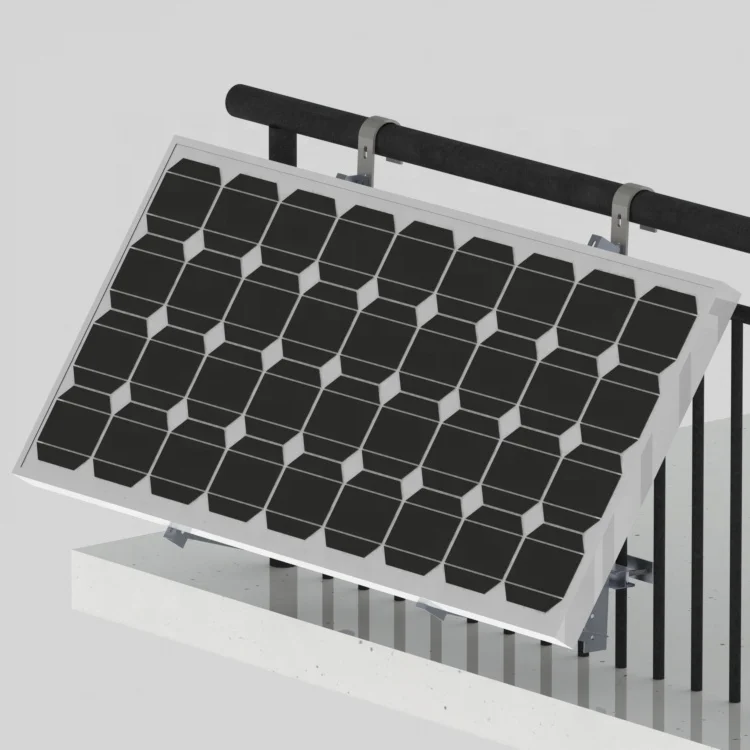
Aluminum Triangle Adjustable Angle Mounting Hook Balcony Wall Mount Adjustable Balcony Solar System Mounting Bracket
-Brand Name: SunRack
-Model Number: SFS-YT-01
-Wind Load: Up to 50m/s
-Snow Load: 1.4KN/m2
-Warranty: 10 years on aluminum mounting racks
- Overview
- Easy installation of SunRack Balcony pv mounting racks
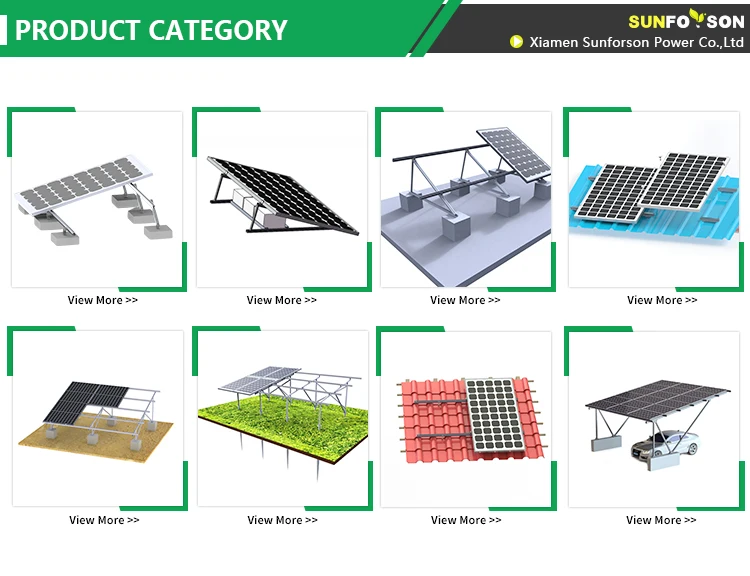
- Recommended Products
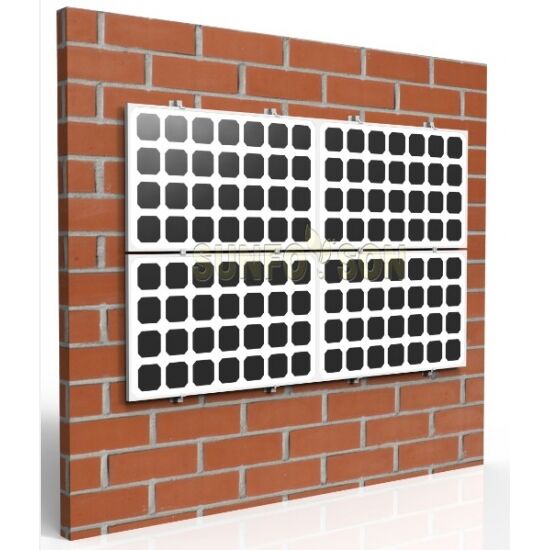
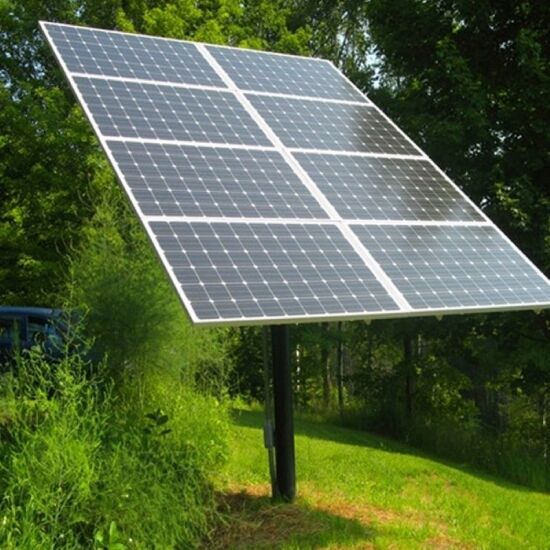
Apartments and residences with balcony space
DIY enthusiasts and professional installers
Markets valuing aesthetics, ease, and compliance
1. Quick Installation, Maximum Efficiency
Sunforson’s mounting system comes with pre-assembled components based on professional engineering, allowing for fast, tool-free assembly on-site—no drilling or welding required.
2. Professionally Engineered for Stability & Compliance
Designed by experienced engineers, our system ensures a robust and secure structure with mature technology that meets AS/NZS 1170 standards, providing reliability while reducing overall costs.
3. Sleek Design, Seamless Integration
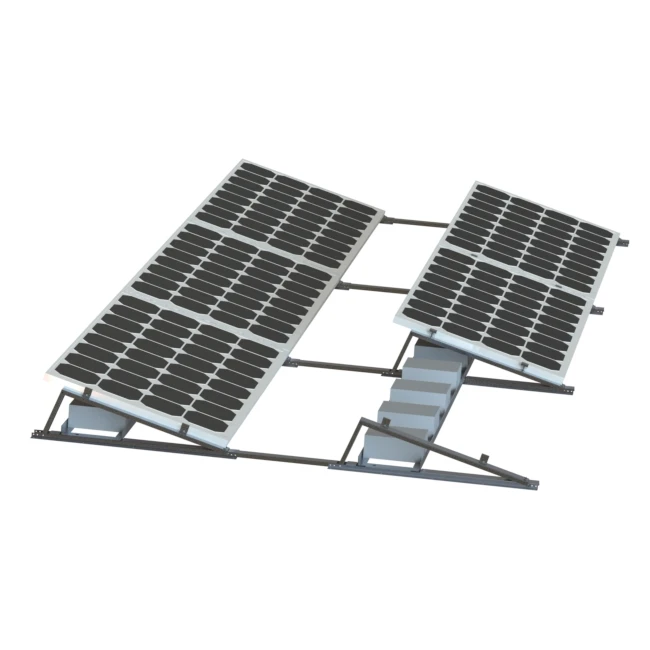
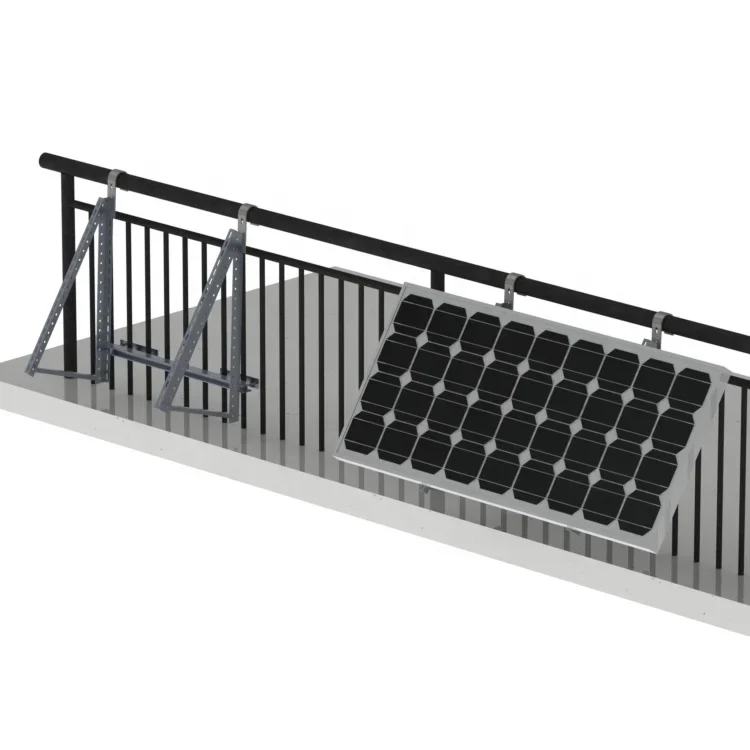
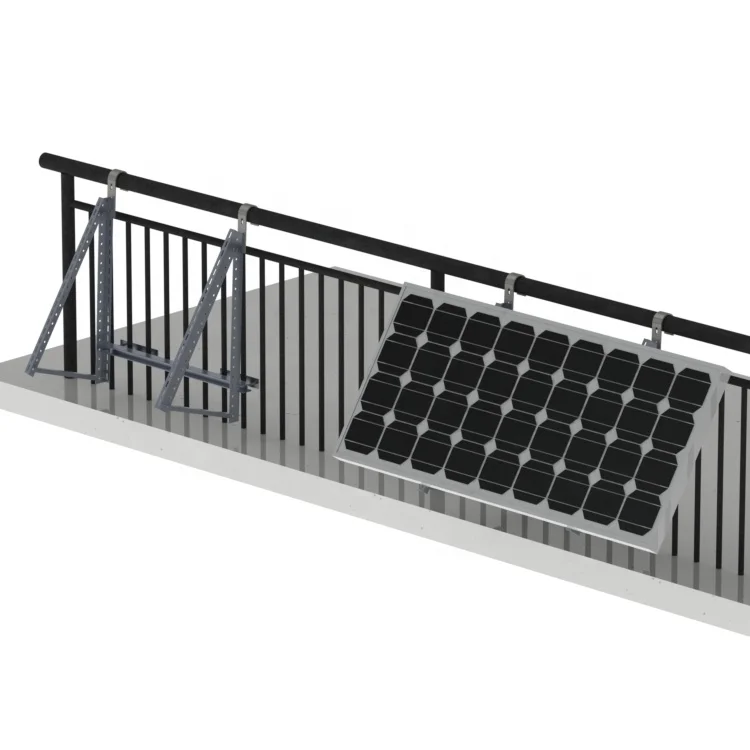
Featuring a unique tripod design, the bracket combines aesthetic appeal with practical function. It neatly mounts onto most round tubes using hooks, turning necessary hardware into a clean, modern balcony feature.
Ideal for:
Upgrade your balcony solar installation with Sunforson’s smart mounting solution—where simplicity, safety, and style meet.
Brand Name |
SunRack |
Model Number |
SFS-YT-01 |
Wind Load |
Up to 50m/s |
Snow Load |
1.4KN/m2 |
Warranty |
10 years on aluminum mounting racks |
Surface Treatment |
Anodized |
Mounting Type |
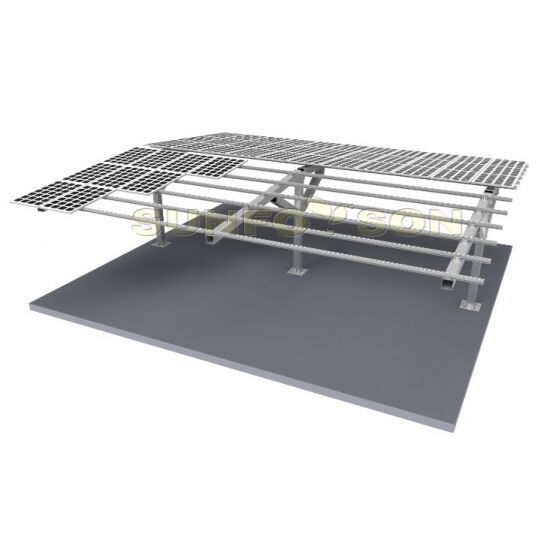
Adjustable Balcony Mounting Bracket Photovoltaic Balcony Structure |
Building Height |
2.3m~3.5m |
PV Modules |
Framed or Thin Film |
Module Orientation |
Horizontal or vertical |
Tech |
Waterproof |
Standard |
International standards |
Support Rail |
Extruded aluminium |

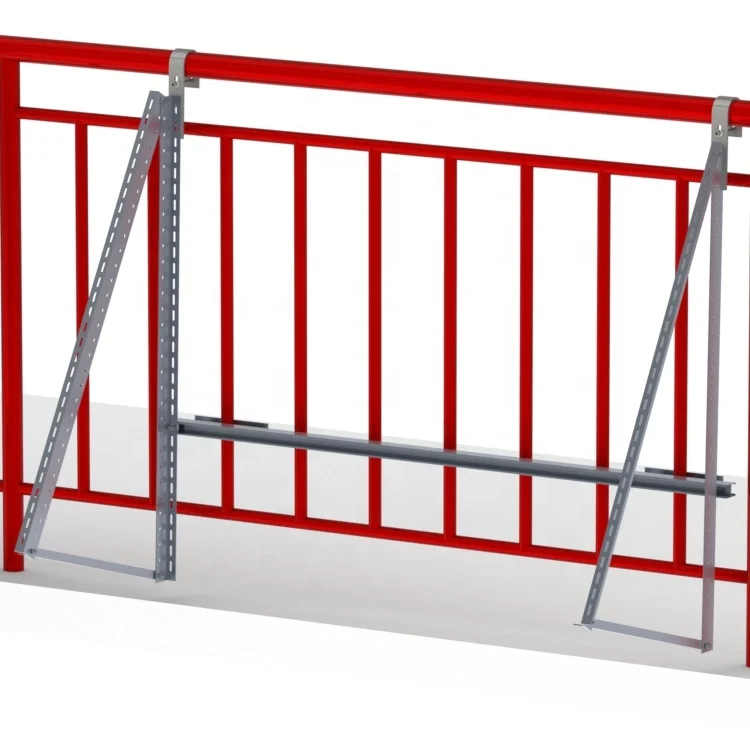
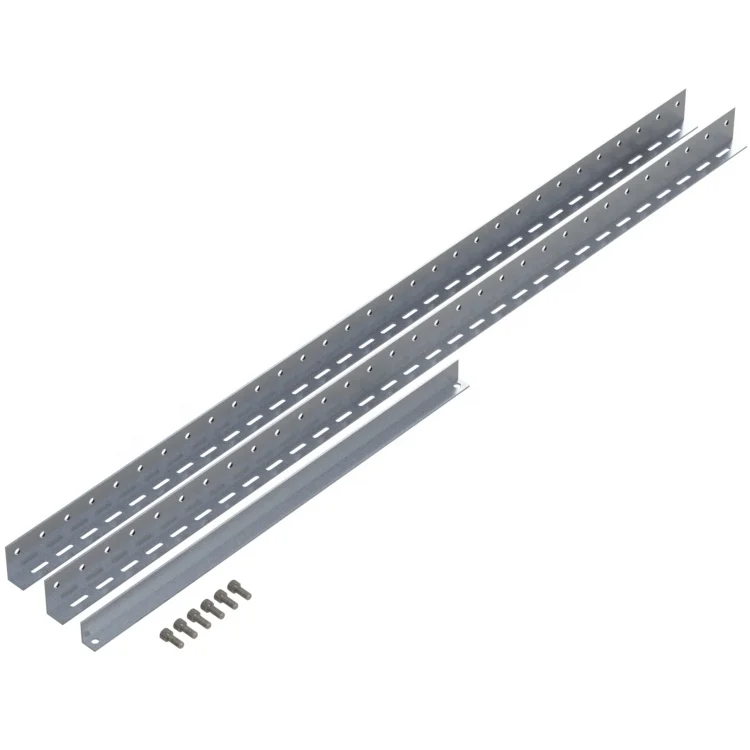
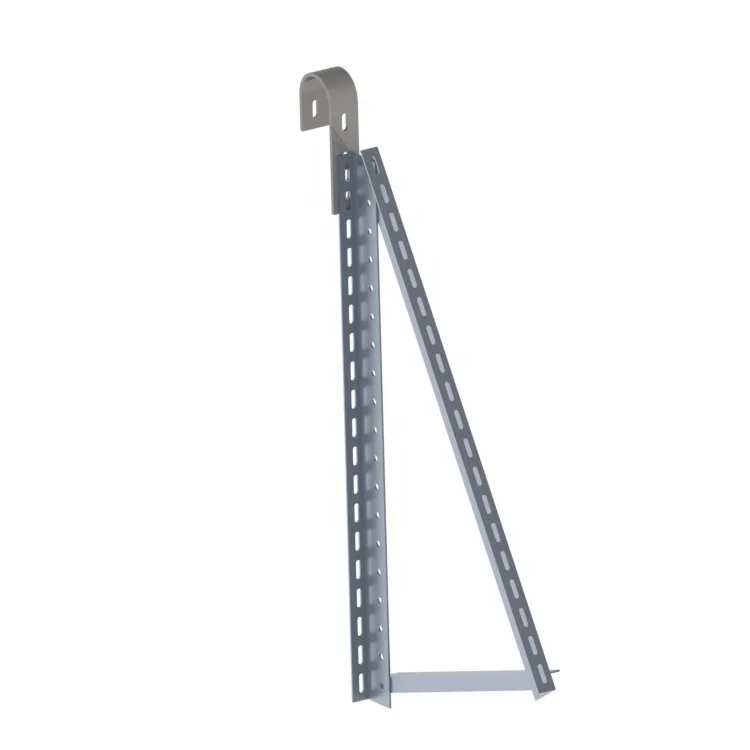
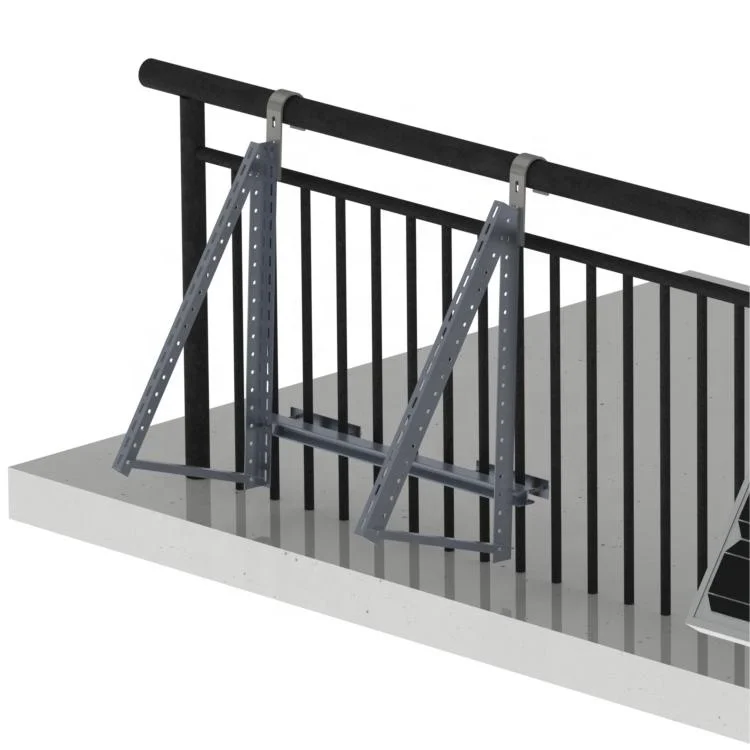


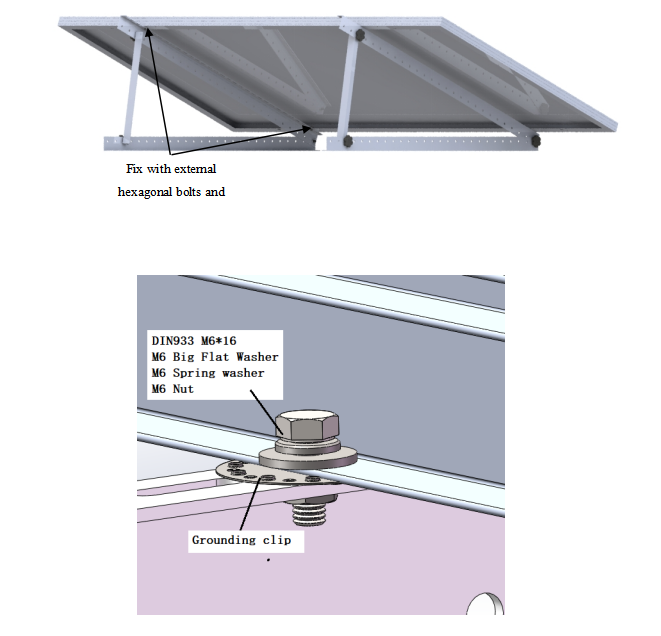
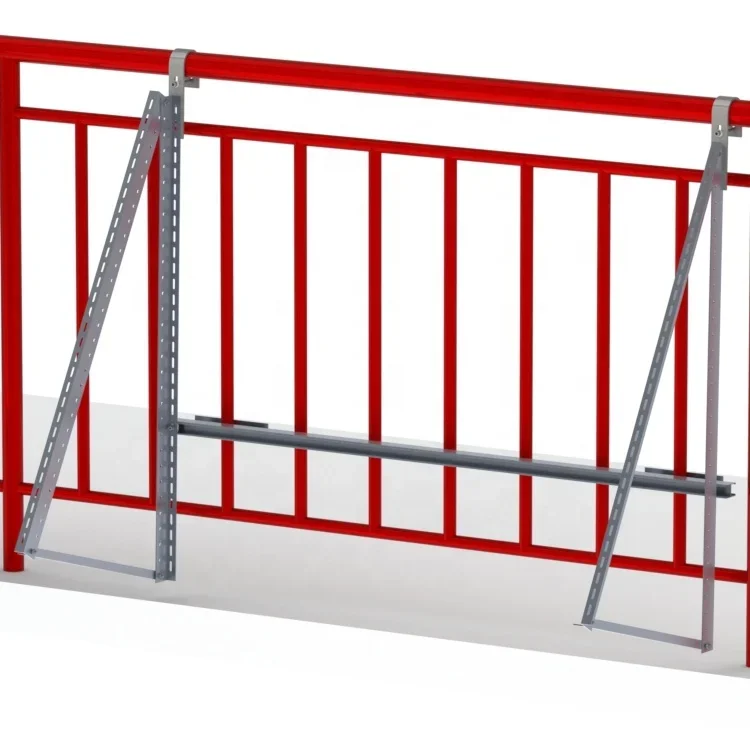
First, perform the installation of a set of leg groups: first, use any two long angle aluminum to match the circular holes, install in a reverse buckle form, and then tighten and fix them using plum bolts and butterfly nuts.
Then install the slant support: find the short angle aluminum, and then place the two round holes on the short angle aluminum respectively on the two long angle aluminum that have just been installed, and fix them with Torx bolts and butterfly nuts.
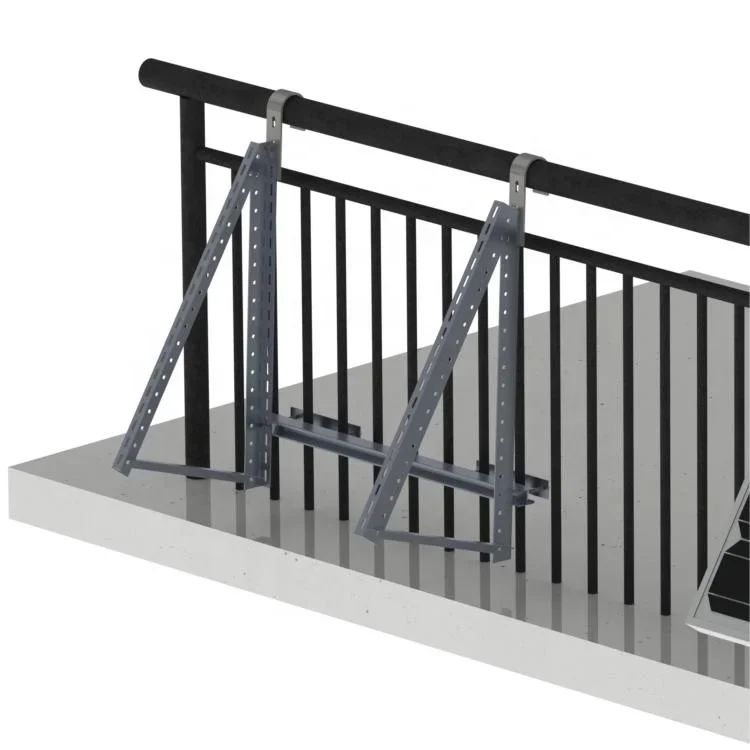
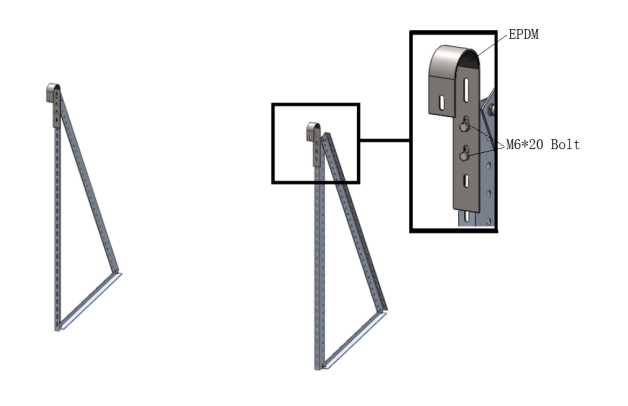
Take the hook out of the carton, adjust the proper hole distance and install it on the Angle aluminum of the tripod, and use M6*20 bolt sets to fix it. As shown in the following figure:
There are corresponding installation holes on the long side of the photovoltaic panel, which are connected and fixed with the upper supports of the two leg groups. The installation situation is as follows: Install torque 5N.m